
How to Make Plaster Press Hump Moulds
Below is a step by step tutorial on how to make a plaster press moulds. Plaster press or hump holds are very simple and easy to do at home, but it is messy. As I do all my work from home, these plaster molds were made in my garden.
What you will need:
- Plaster
- Bucket
- Mold Soap / soft soap release agent / or butter/oil
- Scraper (old credit card would work)
- Bowl or shape to pour plaster into
- Knife or pointy implement
Getting set up
One you have found your bowls you need to soap them up with mold soap. You could try and use olive oil, or butter. Let me know how you get on if you do. I used a wooden and ceramic bowl and also some cardboard tubes.
- Prepare bowls but using a mold soap. I use Scarva soft soap RM1037. You rub it one with a sponge and them rub it off with another sponge or cloth, and repeat three times (especially when its plaster on plaster). With this bowl I only rubbed one layer off , then left a layer quite a bit visually showing. As I used a regular desert bowl and didn’t want to break it. The other bowl used was made from wood and I did the same.

2. Get an area ready, it’s messy business so use something to catch any mess. I use gardening trays as mess catchers. With the cardboard tubes I used clay to keep them in place at the base.

3. Make the plaster. Using a bucket, half fill will water. Then add plaster sprinkling in cups. You don’t need to measure the plaster. When the plaster stops dropping and rests on surface its time to mix. When you put your hand in you should feel a mountain of plaster reaching the top. Mix with your hand until it starts to get thicker and shake or wave your hand in the bottom to get all the air bubbles up. After a short time you will feel the plaster getting thicker. Once its double cream consistency its time to pour.

4. Pour the plaster and leave to set (wont take long):

Removing Plaster
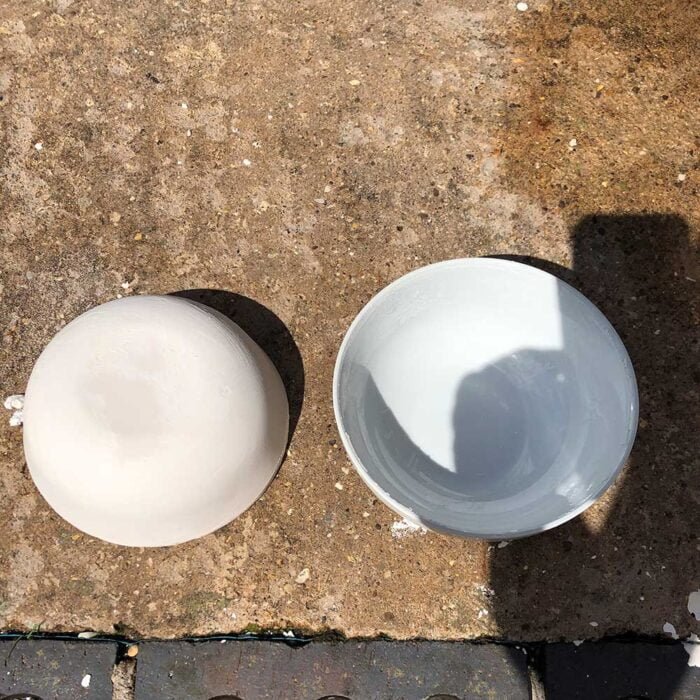
Remove from bowls. This can be tricky. Remove all obvious excess. The cardboard can just be peeled off. With the bowls, use a knife or pointy implement to scrape around inside of rim of bowls first. Then turn it over and bang on the top all around. If that doesn’t release the plaster, try dropping it from say 6 inches on a soft surface. It only took two drops and it came loose for me. I dropped it on my thick rug in the living room. No broken bowl:
Finishing off
1. Tidy rough edges. You need a scraper tool or file. I use a Stanley Surform Moulded Shaver Tool from Homebase. You could just scrape the edges with an old credit card or roll the bowl edge on concrete if you don’t mind the mess.

2. If there are any holes you can make a little bit more and fill.

I didn’t bother filling this hole as they wont affect what I want them for.
3. Use a scraper and with wet and dry sandpaper to smooth over any imperfections. You can use a potters wheel here but it isn’t necessary. I used a steel scraper clay finishing tool, but an old credit card will work:

Use wet/dry sandpaper to really get a smooth finish:


Finished!
Voila!

Feel free to get in touch with me if you have any questions on how to make plaster press moulds.
 Previous Post
 Next Post